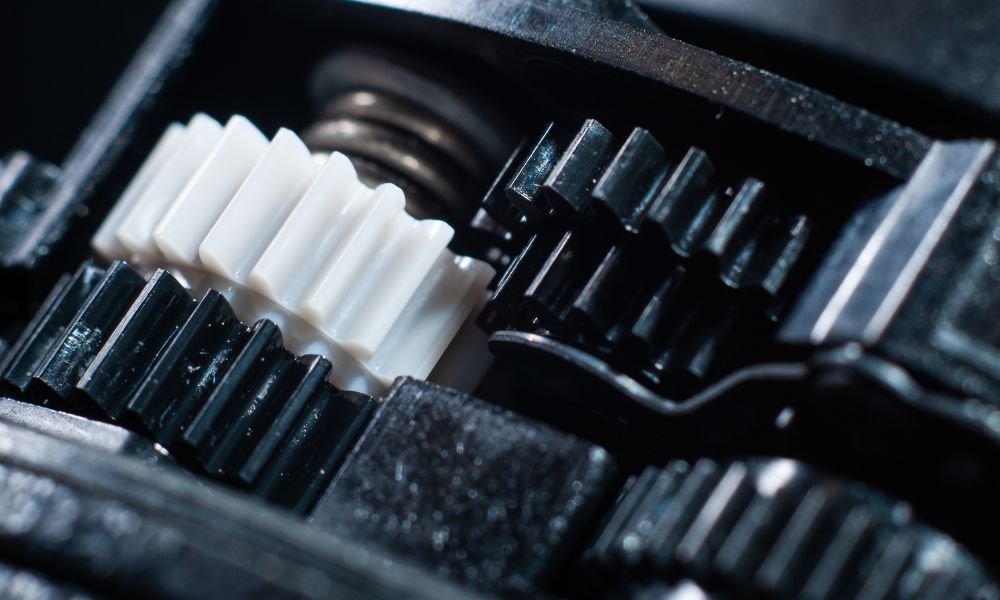
Gears work harder than most other mechanical parts, as they are constantly in motion and cranking away to make an action happen in the device they power. For this reason, they require more maintenance than most other machine parts. If you are looking to learn how to safely maintain your plastic gears, this simple guide will help you keep them clean so that they will continue to work for you long-term.
The Cleaning Process
When cleaning your gears, it is best to use isopropyl alcohol, no matter what device the gears come from. This compound works well because it has exceptional properties that allow it to break down substances that gears are regularly exposed to, such as grime, dust, dirt, and grease.
Isopropyl alcohols with a higher percentage are even better, as they are more concentrated and can remove hard corrosion or surface grease sustained from tension or high heat that could otherwise be difficult to remove.
Measuring the Cleaning Solution
You will want to pour one to two teaspoons of alcohol solution into a bowl. Do not attempt to mix this solution with water to increase the volume. For one thing, the water can potentially corrode the gears. Additionally, it will not evaporate nearly as fast as the pure solution itself. So, when using the alcohol solution, make sure you are not wasting materials.
Again, the higher the alcohol volume, the better the results will be. Any dilution will only hinder your cleaning process. Make sure you are wearing gloves while doing this so that you don’t accidentally burn your skin.
Unlike the alcohol that most people keep in their medicine cabinet for scrapes and cuts, isopropyl alcohol that is 70 percent alcohol or higher can severely hurt you if you handle it without protection. Ensure your workspace is well-ventilated so that the fumes from the alcohol don’t stagnate; when the alcohol vaporizes, it can become harmful to inhale.
For this reason, you should also wear an N95 respirator to keep the chemical fumes out of your lungs. Whatever you do, avoid using acetone at all costs, as it can completely break down your gears. This note is especially true if your gears contain any plastic compounds.
Tools and Processes
A hard bristle toothbrush is one of the handiest tools for gear cleaning. Nothing gets between the grooves of a gear as quickly or as well as a hard bristle toothbrush does.
When using the brush, look at the teeth of the gears. Inspect them for grease that could catch in between them. That is also where you will encounter most of the grime while cleaning.
Make sure to clean all edges of the gear, including the front, back, sides, and teeth. Next, you’ll want to let each gear sit in the solution for a minute to let some of the alcohol evaporate further.
Rinsing and Drying
After you have allowed your replacement plastic gears to dry out for a bit, you’ll want to rinse them well. Make sure to thoroughly rinse all parts of your gear to ensure it is free of any remaining alcohol.
An excess of alcohol could lead your equipment to malfunction due to a grease breakdown that occurs once you grease and lubricate your gears after cleaning. If this happens, you’ll have to start the cleaning process over.
Once you have rinsed for at least 30 seconds, do a smell check for alcohol. You’ll know the gears are clean if you no longer smell alcohol. Place the gears on a dry towel and allow them to air dry until you longer notice the lingering smell of alcohol.
Then, wipe them down to ensure you have removed the bulk of the alcohol. Once you have done this, you’re ready to lubricate and reassemble.
Choosing the Proper Lubricant
There are several different types of lubricants to choose from for gears. The first one we will discuss consists of simple petroleum-based mineral oil. You can find these and the others listed at most general stores worldwide.
These work great for machines that run at average temperatures. By average temperatures, we mean anything below 100 degrees Fahrenheit. You will not need to use much of this lubricant on your gears, as petroleum tends to be very dense and lasts an exceptionally long time.
If you have a machine that runs hotter than most, you might want to try a silicone-based lubricant or perfluoropolyether (PFPE) lubricant. Choose these options if the machine’s temperature reaches higher than 100 degrees while in operation.
Lubricant Thickeners
You want your lubricant to stay in place after you grease your gears. If it does not, you may need to lubricate your machine more frequently. Using a suitable thickener will help distribute the petroleum across the gear and hold it in place for more extended periods.
For a lasting thickener application, mix 90 percent of the thickener solution with 10 percent of the lubrication. The thickener helps the lubricant spread more evenly across the loads.
Mixing your thickener with lubrication should always be done in a 9:1 ratio. If you ever feel your gears sticking or hear any noises that are out of the ordinary, it may be time to re-lubricate your gears.
Determining how often to lubricate your device will depend on the type of machine running the gears, how often you run the device, and the overall level of tension the machine is under daily. Remember that larger gears use more grease because they are under higher stress and work for more hours each day.
Therefore, they will need to be lubricated more often. Some smaller gears will remain under high tension and pressure and require observance but typically will not need extra lubrication.
We hope this overview of how to safely maintain your plastic gears has helped you understand all the tools you’ll need to keep your gears operational for long periods. Without standard maintenance, the gears will wear down, and you’ll have to replace them more frequently. Make sure you’re maintaining them to the best of your ability.


![Read more about the article It’s About Time [And Saving Money]: New Lathe Does turning and Milling Too!](https://www.millerplastics.com/wp-content/uploads/2017/08/equip2-l-300x167.jpg)
